|
|
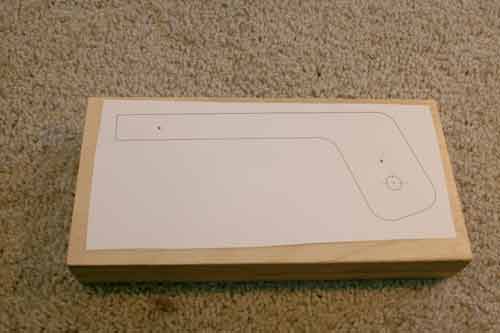
Start by making the
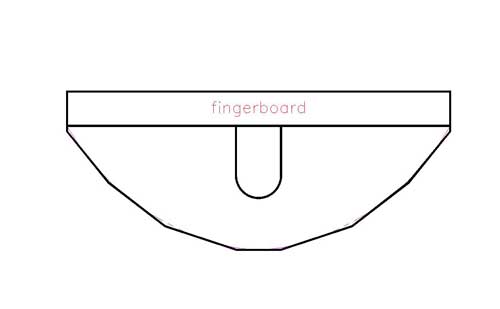
Neck Clamp. I use spray glue to fasten the pattern to a piece of 3/4" Baltic
Birch Ply, at least 5 1/2" x 6 1/2". Then shoot a couple nails to temporarily fasten
it to a second piece of ply for cutting and shaping. I start by drilling a 3/8" hole
where indicated on the pattern. |
|
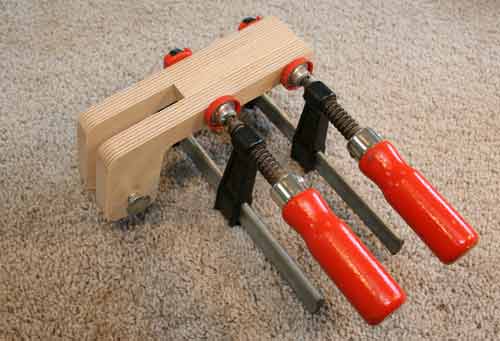 |
Glue the middle
piece in with a 3/8" carriage bolt inserted to align the holes. |
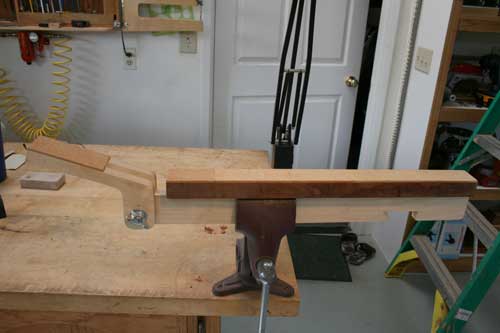 |
Here's the completed
Neck Clamp. I had a scrap piece of walnut that was perfect for the top
piece. |
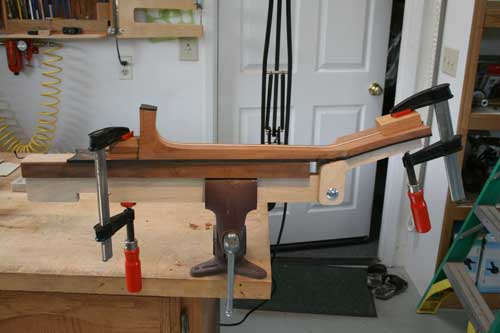 |
Adjust the head
support to the correct angle and clamp the neck with pads. This is a
12-fret short scale neck so there is a little room at the end of the
Clamp. The headstock is complete, the fingerboard is glued on and the
basic profile of the neck and heel are sawed and sanded. |
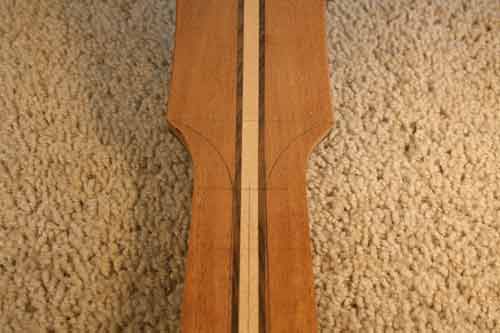 |
1. Layout the neck as shown on the drawing
for the first facet cut. Blend into the lower part of the headstock. We
use a 1 1/2" radius here. |
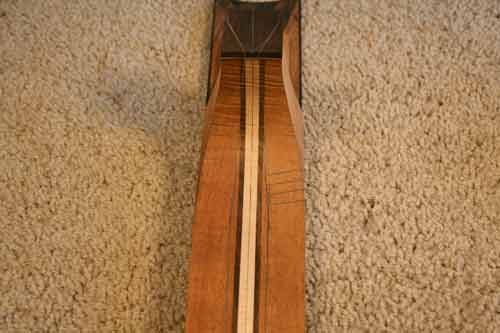 |
Heel end shown. |
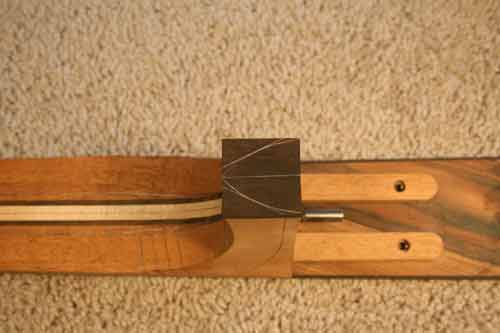 |
Lay out facet lines on top of the heel cap. |
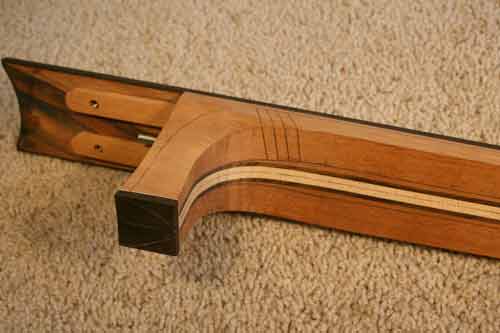 |
We use a 1 3/4"
radius to blend in the side of the heel into the heel cap. |
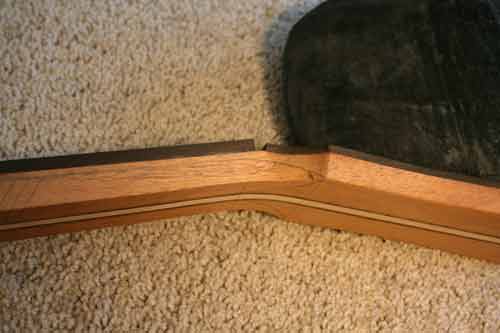 |
Blend the side of
the neck into the head. |
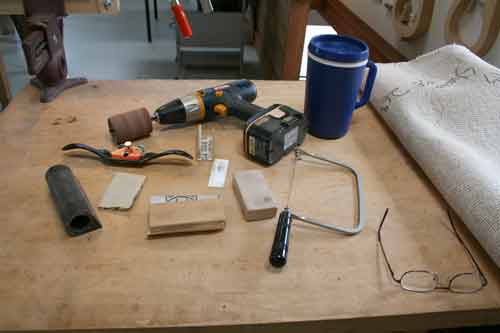 |
Here are the tools
you will need. |
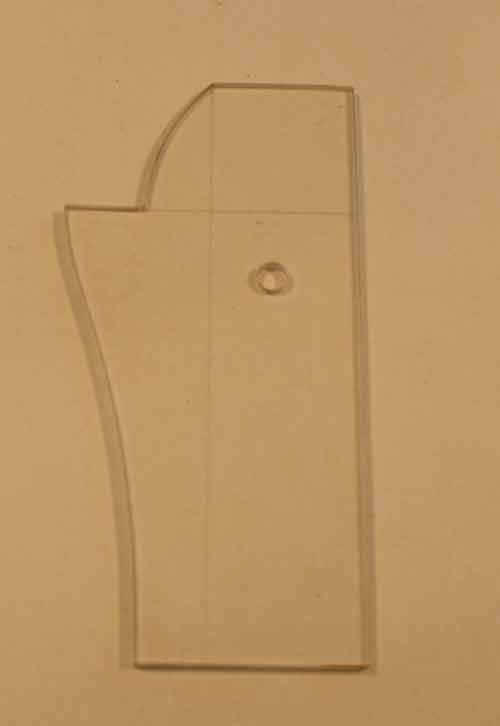 |
This heel and cap
contour pattern is made out of 1/8" thick Plexiglas. It has a center line
scratched into it and works off the center line of the neck and cap. We
have included a full size rendering of this on the drawings. |
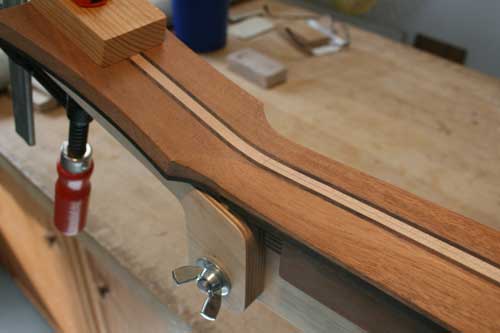 |
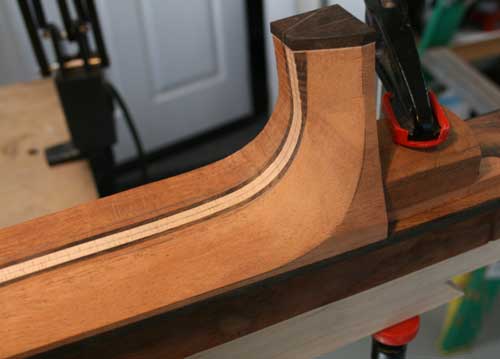
Here is a shot of
the completed first facet completed at the head. |
 |
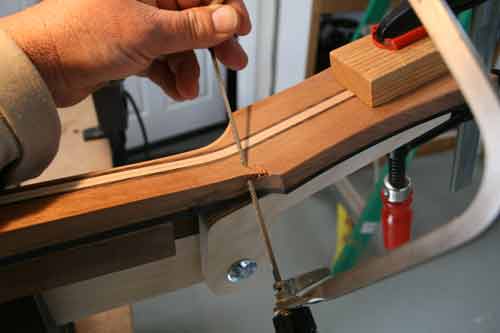
Here is the heel end
of the first facet completed. It should be nice and straight with no
valleys or hills
at all. |
 |
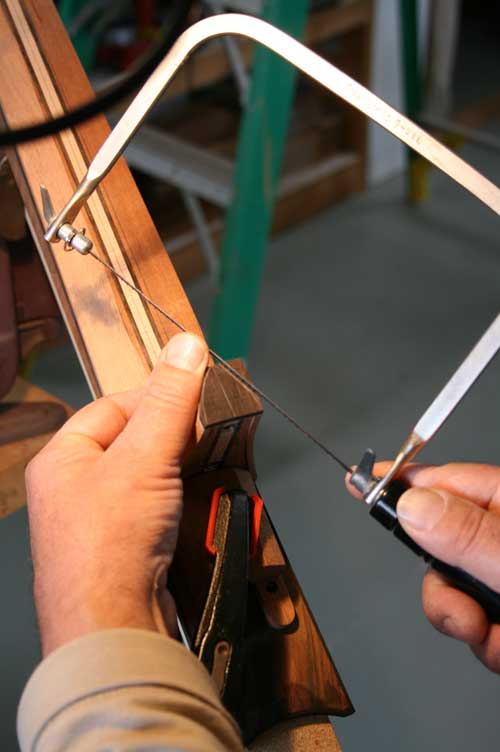
2. Start the rough
cut. Use a coping saw with a fine blade tilted at 45 degrees. There is no
reason to get too close to the line, we are just removing most of the
material for now. You wouldn't even have to do this saw thing but it is a
bit faster. |
 |
Use your thumb to
guide the saw to start the cut. The saw blade is flipped over to 45
degrees on the opposite side. Go slowly and don't crowd the line.
|
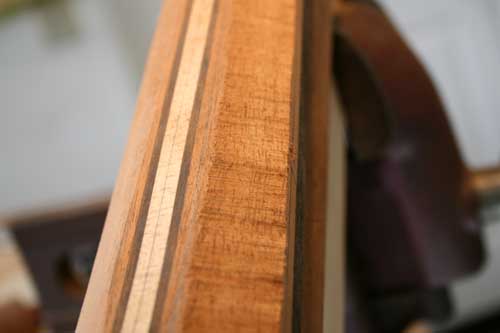 |
It is pretty rough
but...
|
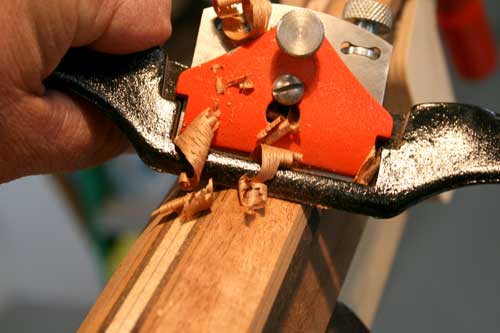 |
...it cleans up in
seconds with a spoke shave. A draw knife works good here too. Actually,
most any smoothing tool is fine just as long as you can sneak up close to
the line in an accurate way. |
|
|
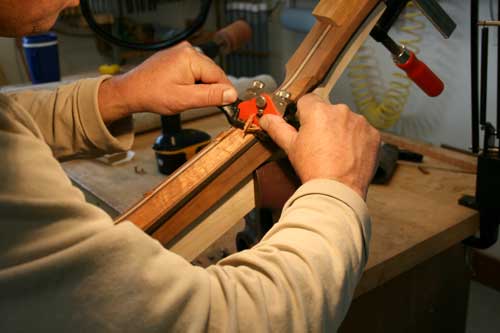
Tilt the Neck Clamp
in your vise to get comfortable for shaving. |
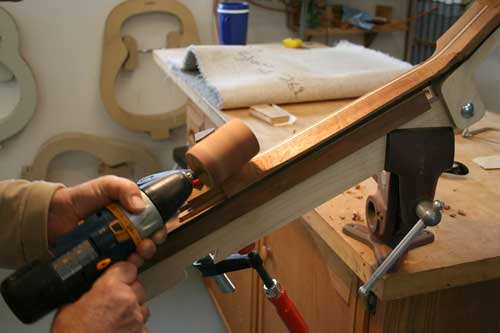 |
You can use a drum sander chucked up in your
drill to smooth the contour at the heel. This is a 2" diameter drum. |
 |
This drum has 80
grit paper on it...go slowly :-) |
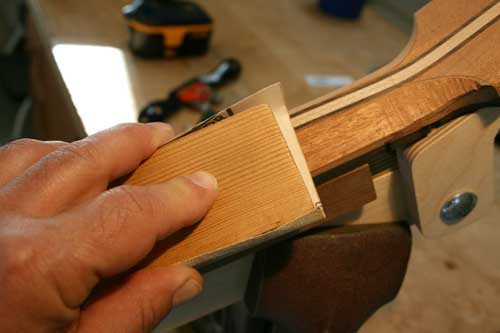 |
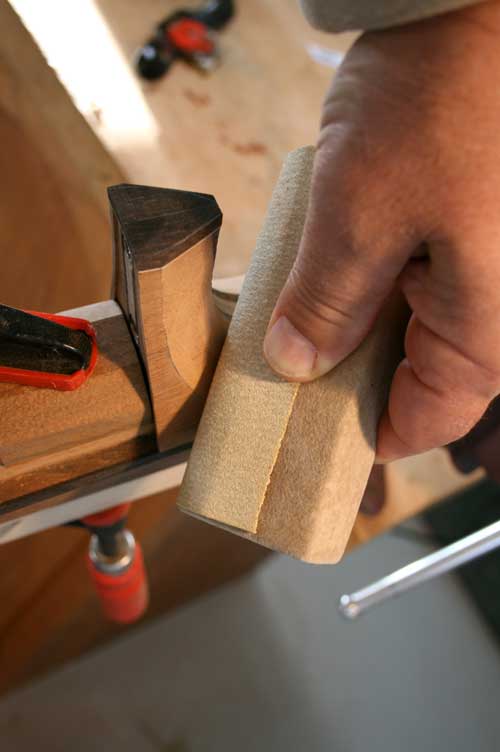
Use 100 grit with a
hard block to level the cut down to the line. Flat-flat straight-straight. |
 |
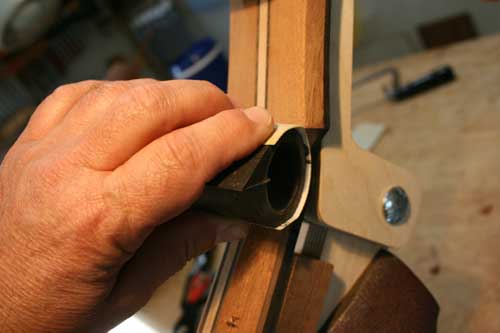
A felt block on edge
works good at the heel. |
 |
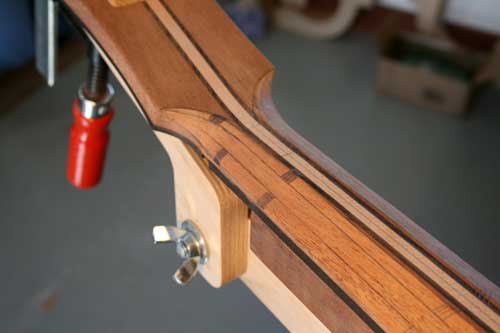
And a round block
back-up at the head. |
 |
3. Layout for the
next facets as shown on the drawing and blend into the headstock. |
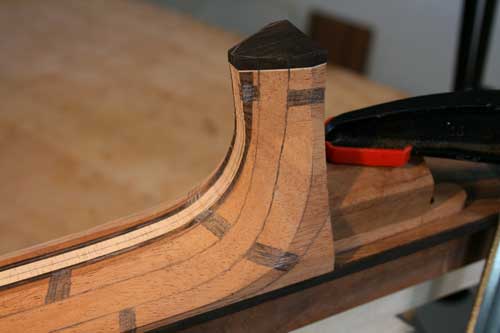 |
Blend into the heel
too. The shaded areas will be removed with the spoke shave and sanding
drum. Stay away from the non-shaded areas. Looking down on the heel cap
you would see facet lines that are tangent to the curve. Shave down to the
lines as before.
|
 |
Now the neck is
taking on a rounded shape using straight lines. It is nice and even and
symmetrical. Now it is just a matter of removing the remaining points and
actually making it round. |
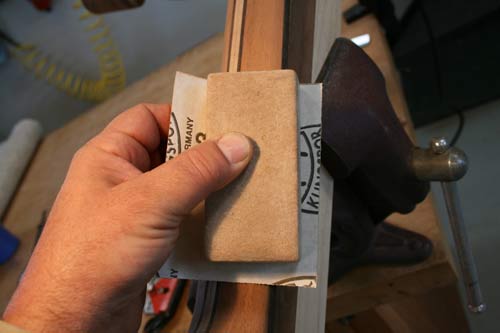 |
4. Using 120 grit
with a felt block, sand directly on the points where the lines are to
remove those high points. |
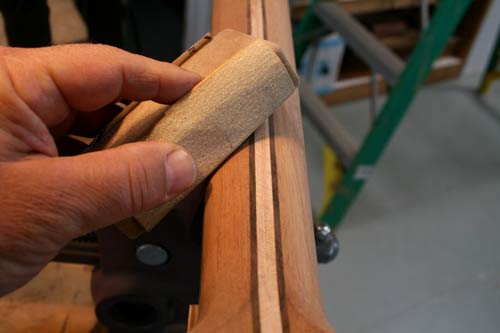 |
5. With the felt block, sand in a rounding
motion at 45 degrees. |
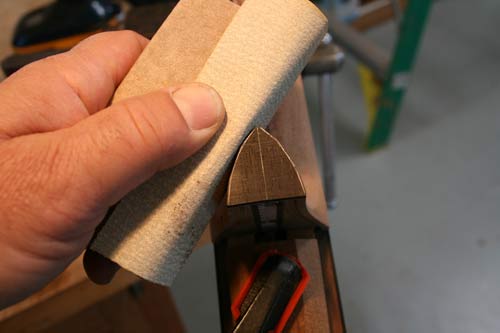 |
With the block on
edge remove the points from the heel and head. |
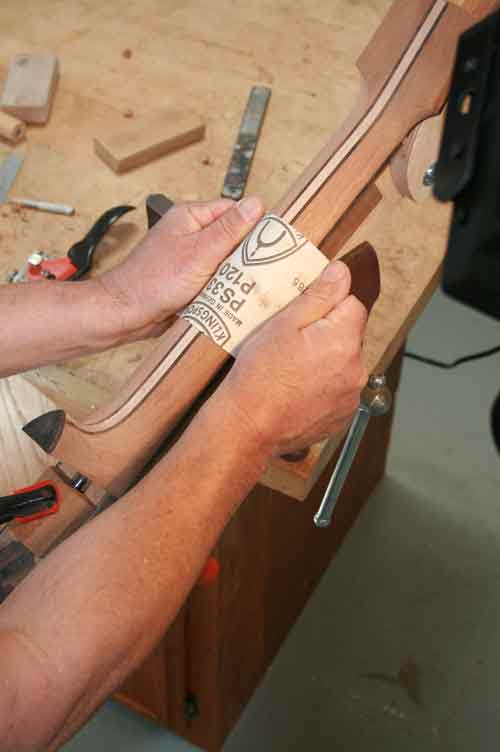 |
Hold a piece of 120
grit and do the 'shoe shine' and then back-and-forth. |
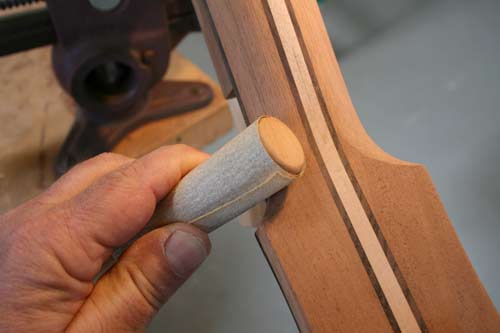 |
Special attention
needs to be given to blending in to the head and heel. It's easy to dig a
hole here so resist the temptation to sand in one spot for very long. |
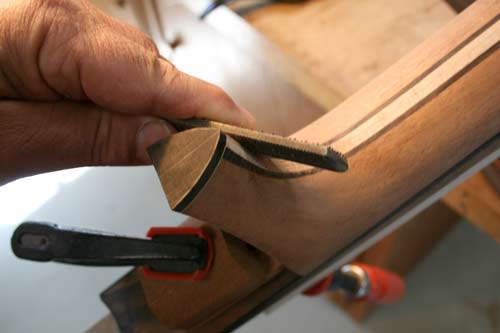 |
Ditto with the heel.
Think 'blend.' I am using a 4-in-hand rasp on the fine rounded side to
shape the pointy part of the heel and cap. The 5-piece neck is not very
forgiving of 'almost symmetrical' so I spend a little extra time here.
Also the rosewood and maple center is quite a bit harder than the
mahogany. |
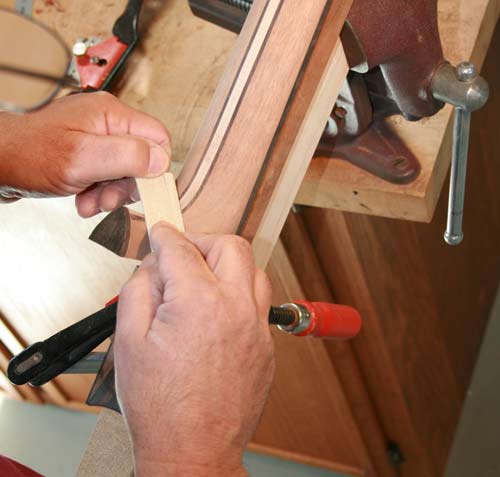 |
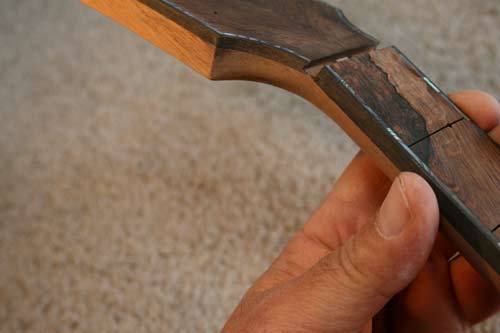
Then wrap a piece of
120 grit around a piece of credit card for a backer. We keep different
widths and thickness credit cards around for this purpose. When it is
looking pretty good, switch to 240 grit and do it again. Also, sand cross
grain at the heel and also swirling motion with the credit card back-up
but finish with the grain. |
 |
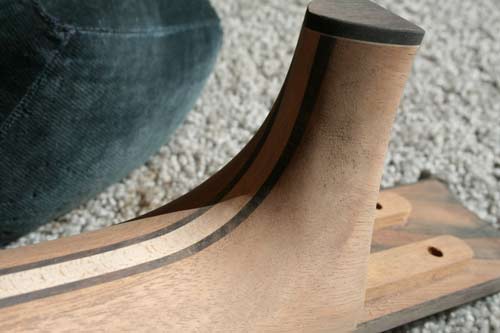
Back to the bench, I
close my eyes and feel the transition between the neck and the
fingerboard. If I can feel anything, I use 320 grit with a felt block and
sand at that joint until I can't tell where the joint is. |
|
|
In the afternoon,
the sun comes through the window at my main work bench. That's a good time
to play the light against the neck and look for scratches, flaws and other
perversities. Can you see a problem here? Sand them out with 320 grit. |
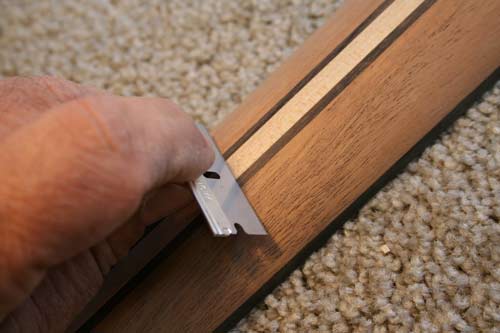 |
When everything
looks pretty good, use a single edge razor blade as a scraper and clean up
the maple when used in this way to get all the rosewood stains off. This
is a good technique anywhere on the guitar where this happens like on the
binding/purflings. |
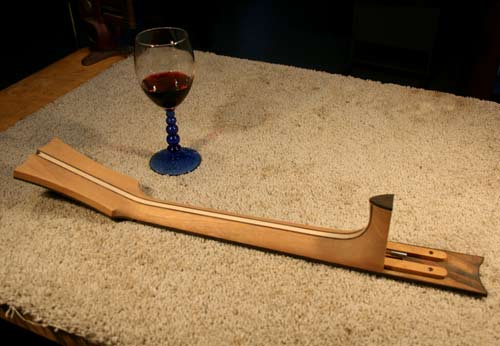 |
That's about it.
There are a lot of steps but they actually go pretty fast after you have
done it a few times. Now it is time to check the parabolic curve in the
fingerboard and do the inlays, have a glass of wine and prepare for rave
reviews. |